How to make an email header
About this guide
This guide will walk you through creating custom email header images for sales and marketing campaigns using the Design System and Figma Buzz.
Key Details
Final Output: 600px × 185px email header images in PNG format
Target Use: Sales and marketing email campaigns
Quick video guide
Step 1: Choose Your Image Source
You have two options for sourcing images for your email headers:
Option A: Use Platform Photo Packs (Recommended)
Use the industry photo packs to find the most relevant imagery for your use.
Option B: Use Custom Images from Lead's Website
Source your image from the lead's website or other custom source, making sure to check image quality and ensure it's high resolution to avoid pixelation in the final output. The image needs to be a minimum size of 600px × 185px.
Step 2: Resize Custom Images (only required for Option B)
If you chose Option B you'll need to resize them to the correct dimensions:
- Go to Adobe Express Image Resize tool:
https://www.adobe.com/express/feature/image/resize - Upload your image by clicking the upload button or dragging it into the tool
- Set custom dimensions:
- Width: 600px
- Height: 185px
- Crop and adjust the image as needed to fit the dimensions while maintaining visual appeal
- Download your resized image:
- PNG recommended for better quality
Step 3: Download Required Fonts
If you do not have PHMG Mabry installed, you will need to download and install this before editing the asset. See useful links
Step 4: Edit Your Template in Figma Buzz
Single Asset Creation
Click the 'use' button on the asset card or on the asset page. This should launch Figma Buzz. You might need the register for a free account to use Figma Buzz.
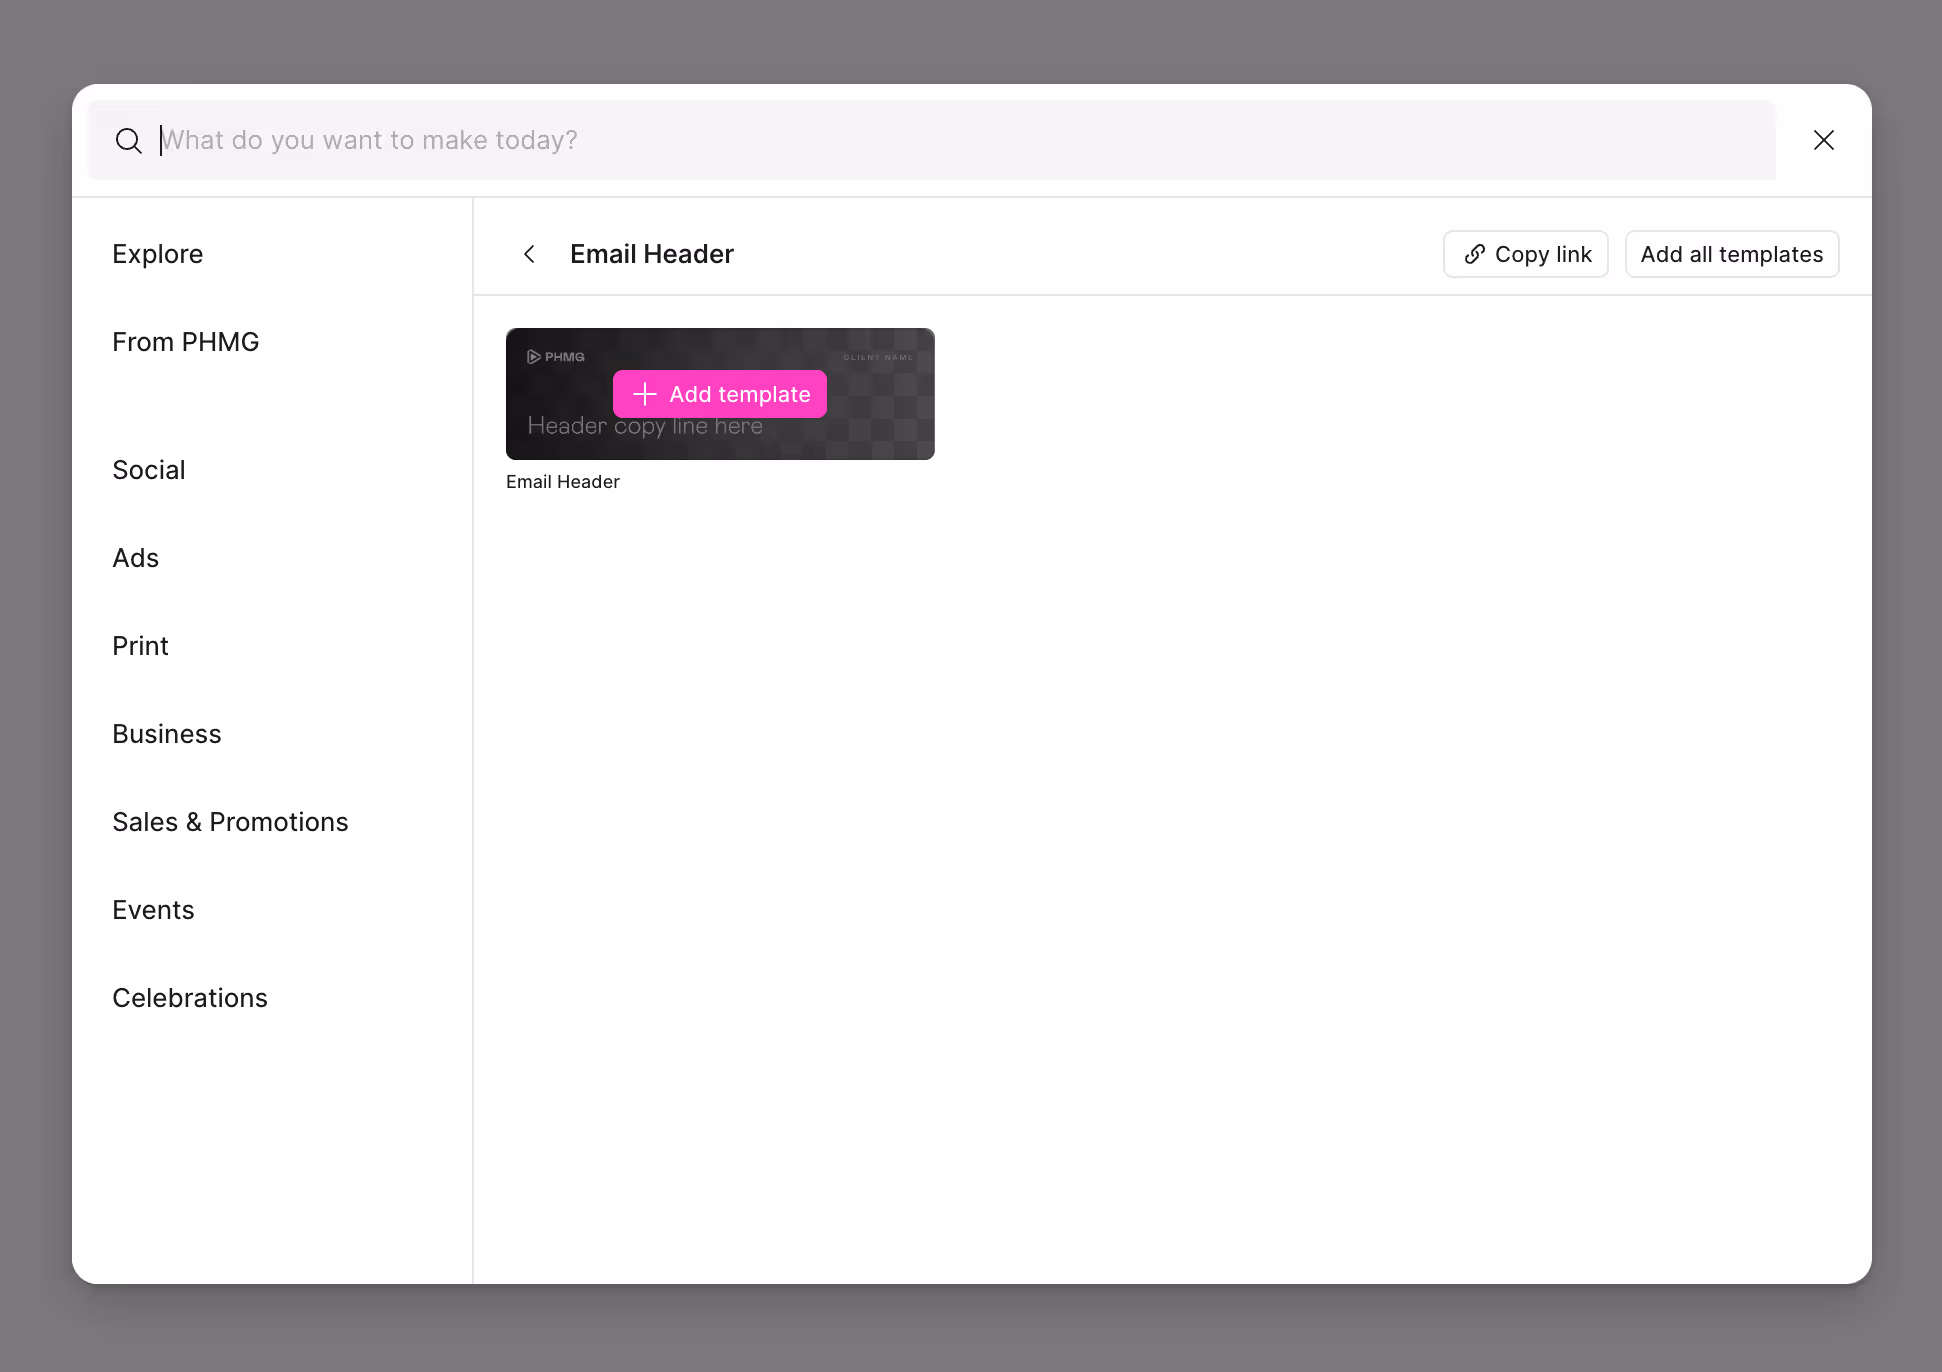
Choose the version of the email header you wish to use. Sometimes there may only be one option.
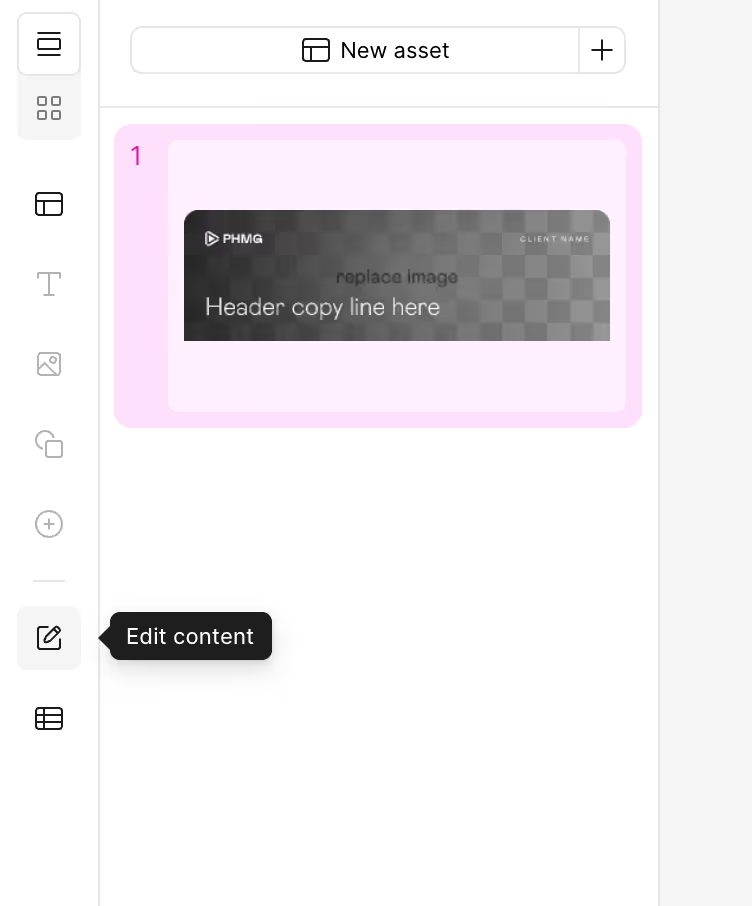
Click the 'edit content' on the left toolbar
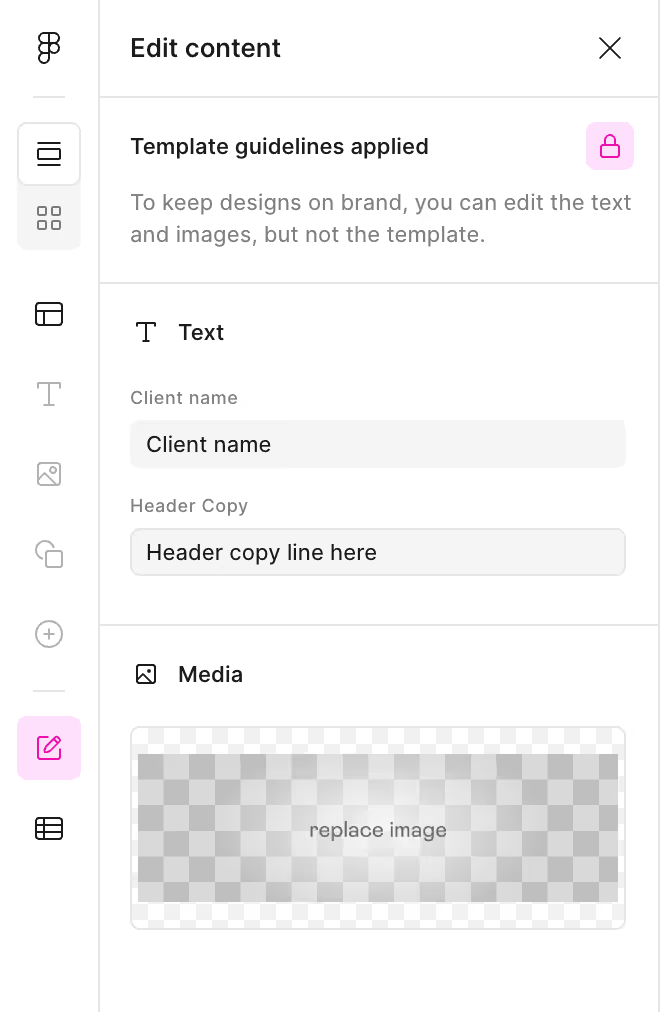
Update the text and image fields with your content
Step 6: Batch Creation Using CSV (Optional)
For creating multiple email header variations efficiently:
Prepare Your CSV File
- Download the Excel template provided in the link block below
- Fill out the template:
- Column A: Brand names for each variation
- Column B: Headline copy for each variation
- Add additional rows for each email header you need
- Save as CSV UTF-8:
- Go to File → Save As
- Choose "CSV UTF-8 (Comma delimited)" format
Import CSV to Figma Buzz
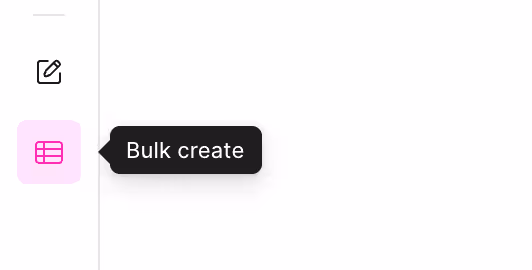
- In your Figma Buzz template, look for the 'bulk create' in the left toolbar
- Upload your CSV
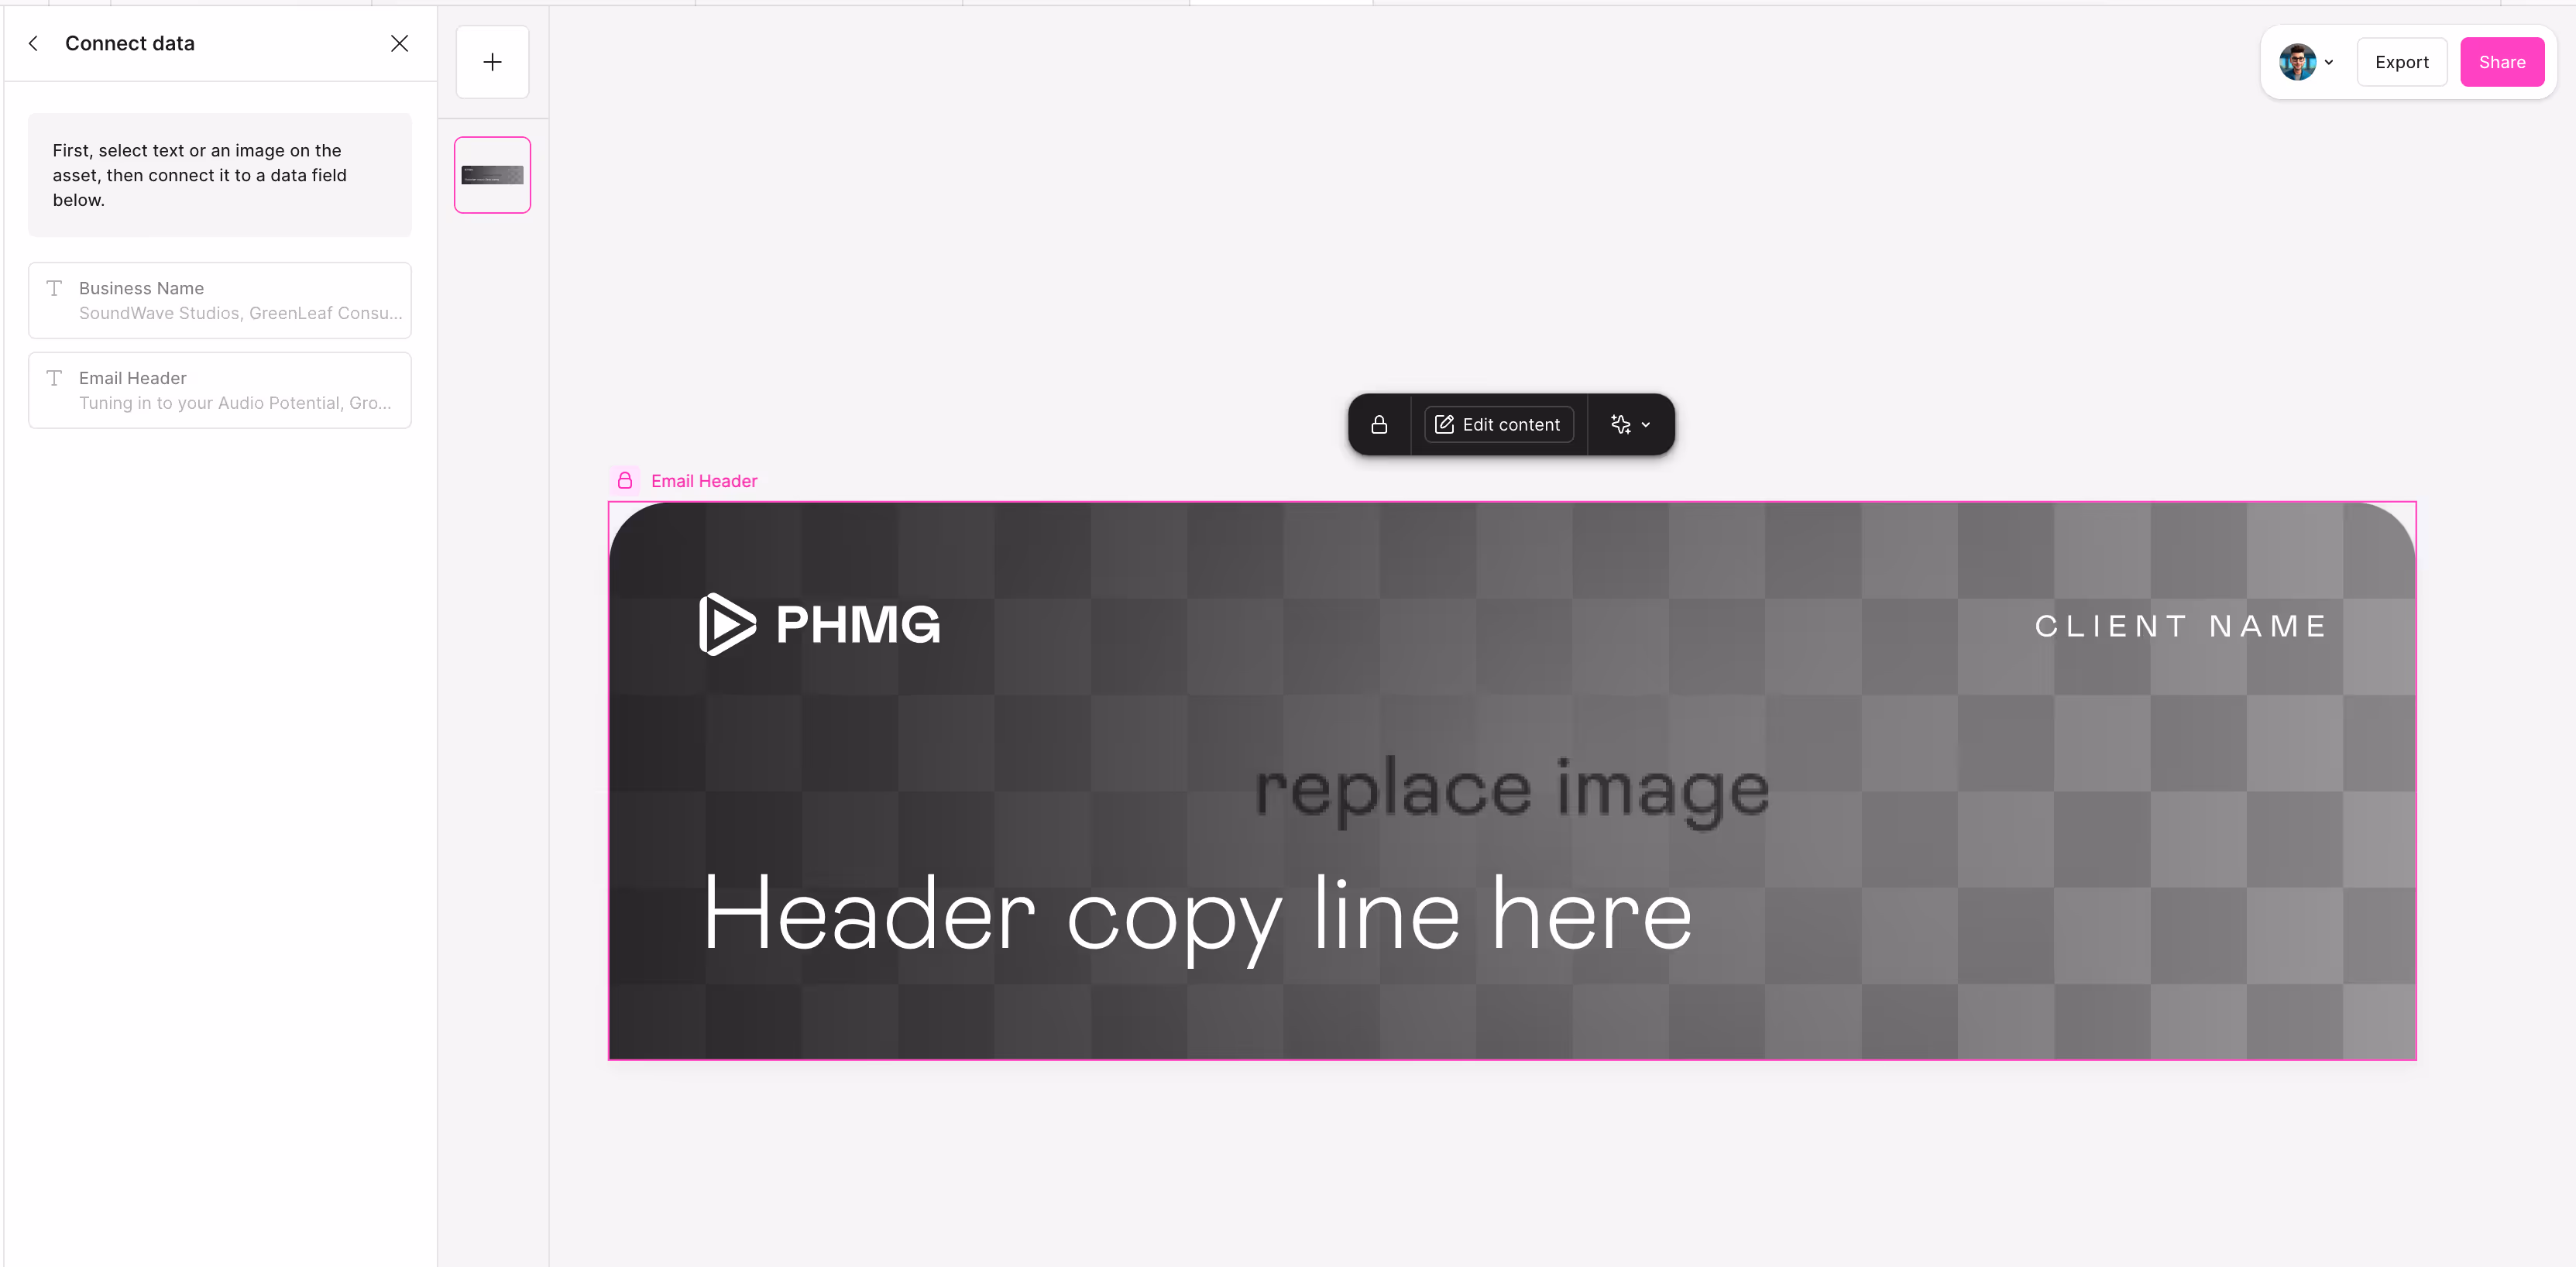
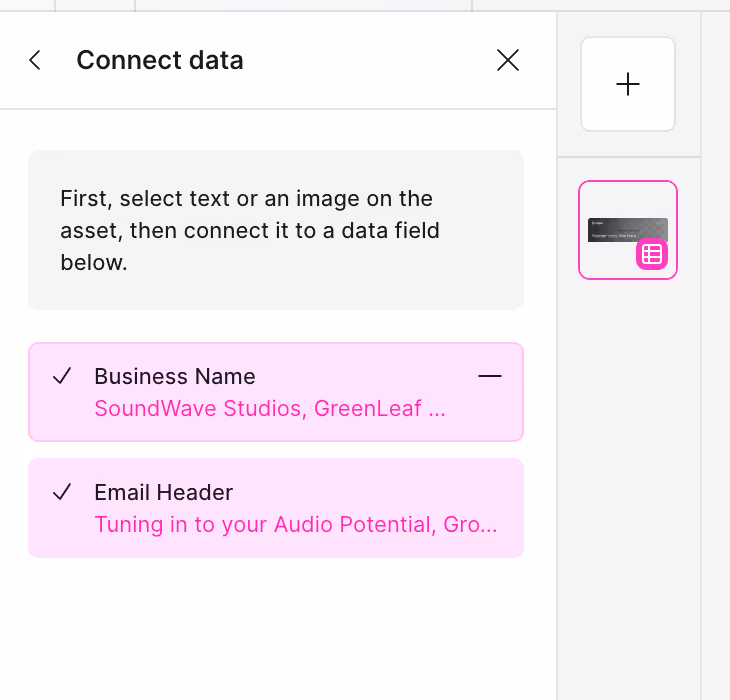
- Click on this text on the design, and then click the corresponding option in the left panel. When linked, they should turn pink with a tick
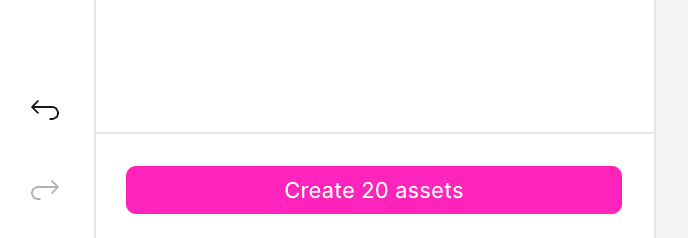
- Click 'Create # assets' at the bottom of the left panel to automatically populate your assets. You will still need to pick imagery by hand. If the imagery is the same for all, you can choose the image first before bulk importing and it will copy across for all.
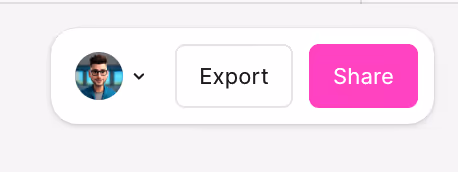
Step 7: Export Your Email Headers
- Export as PNG:
- Click the export button in the top right corner
- Select PNG format (recommended for email headers)